Milling Aluminum: Why are Part Tolerances Critical?
Milling aluminum seems simple, but small deviations can have major consequences. A part that's just slightly too large won't fit into the assembly and can halt the entire production line. A tenth of a millimeter can make the difference between smooth operation and a jam. Even small deviations can cause noise, vibration, or wear.
Accuracy determines not only the fit, but also the safety and durability of a component. Therefore, it's important to define tolerances neither too narrow nor too broad. Tolerances are the language in which design and production understand each other. Therefore, clarify upfront which functions the component must actually perform.
In this article, you'll discover why accuracy isn't just about measuring, but also about material behavior, process choices, and verification. You'll learn which errors are most common, what steps you can take beforehand, and how to minimize the risk of rework.
Milling aluminum and the impact of material behavior
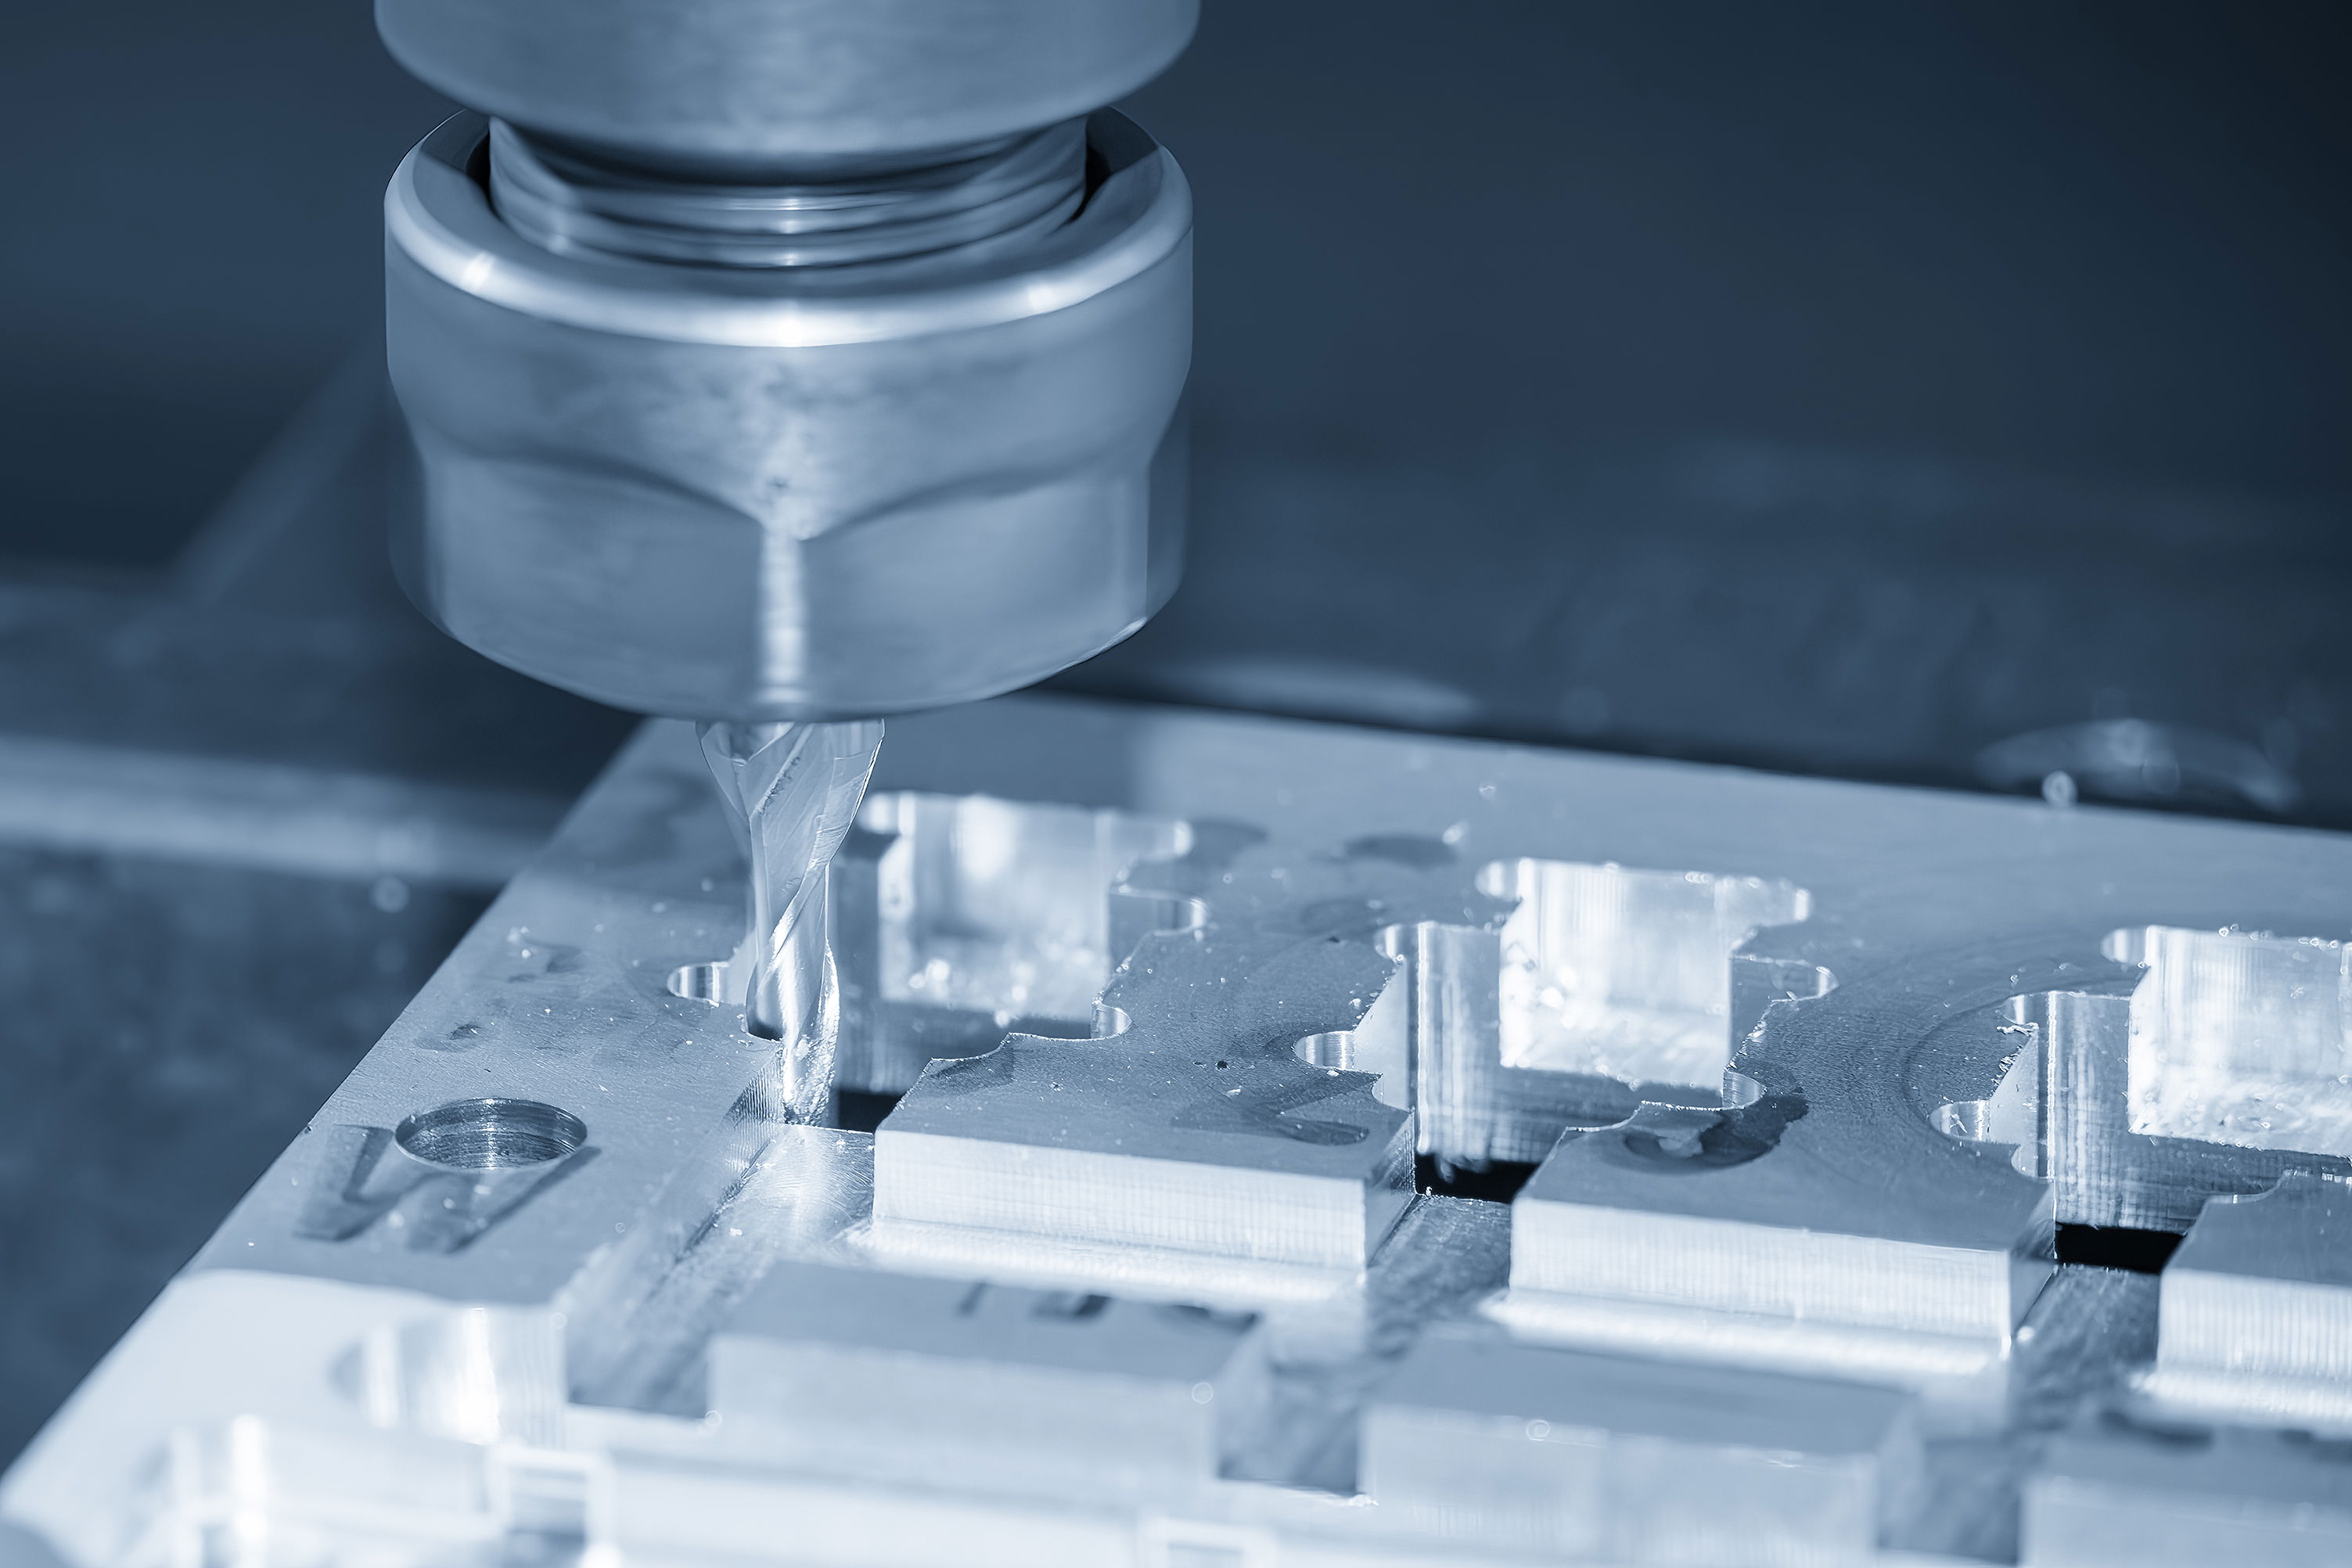
Aluminum is relatively soft and conducts heat quickly, but its behavior is not always predictable. During machining, the material can expand or deform, especially with thin walls. The choice of alloy and heat treatment plays a significant role in aluminum machining. A higher-strength alloy can be less forgiving, resulting in a faster deviation from the original size. Therefore, it's important to select a fixture that prevents the workpiece from pinching or pulling when released. Also, consider burr formation, as a burr can push a part slightly out of tolerance.
If you need a critical fit, plan a separate finishing step with a shallower depth of cut. This provides greater control and reduces vibration. A sharp tool tip and stable coolant help evacuate chips and maintain a consistent surface. Choose tool lengths that are just long enough, as overly long tools bend more quickly. When you have many cavities in a part, symmetrical fixtures can minimize distortion. Small adjustments in the program are often more effective than additional finishing. Also, add measurement points to the design so the operator can quickly check for correct dimensions.
This prevents deviations from only becoming apparent during final assembly. Pay attention to tool wear, as a dull cutter pulls the material and distorts the dimensions. Also check batches of material, as composition and hardness can vary. A short pilot run with multiple tools provides insight into the process's stable zone. Also pay attention to the shape of the chips, as buildup retains heat. Proper chip evacuation prevents surface scratches. Choose tools with a coating suitable for aluminum to prevent sticking.
For thin plates, a vacuum table can help minimize distortion. Avoid unnecessary sharp edges, as these are susceptible to burrs and damage. Maintain a consistent cutting depth to minimize thermal shock. After a long run, allow the part to cool briefly before fine-tuning. Warm up the machine with a short test run to ensure the axes and spindle are stable. A consistent starting temperature reduces dimensional drift throughout the day. Also, schedule a rest period during long runs to prevent measurement errors.
Process choices that make or break tolerances
The process begins with the right CNC milling strategy. The tool path determines how the forces flow through the material, and thus how the part behaves. For complex shapes, it's wise to separate roughing and finishing passes so that the final step is as smooth as possible. Limit repeated fixtures, as each addition increases the risk of dimensional shifts. It's best to choose a setup that allows a part to remain within a fixed reference. The order of CNC machining is also important: first remove